
By default Python only gives you a single environment for your whole system. This means when you install Python, or a package using Pip, you are installing that version of python or that version of the python package for the entire system. And all scripts you run will interact with that same version of python or package. However, there are benefits to having a different python environment for each python application. Each application may have different dependencies. And may have compatibility issues with future versions of python packages. If this sounds intriguing to you, you should check out virtual environments.
Installing VirtualENV
VirtualENV is a python package that gives you the ability to create a new python environment in each folder. It is easy to install if you already have pip installed. For information about installing pip, see our article on python basics.
Once you have pip installed, you can install virtualenv by running:
pip install virtualenv
Or, you might have to run:
sudo pip install virtualenv
On Windows, you may need to run this from an elevated command prompt
Using VirtualENV
When using Python without virtualenv, everything is installed system wide. That is why you sometimes have to elevate your permissions to install or upgrade packages via pip. Virtualenv turns each folder into an isolated python environment. This alleviates the permissions issues for one. But it also gives you the ability to use different versions of packages in each environment.
To get started open a new command prompt or terminal, then create a new folder called project1 (mkdir project1)
type cd project1 to enter that folder
type:
virtualenv env
This will create the new virtual environment for your project

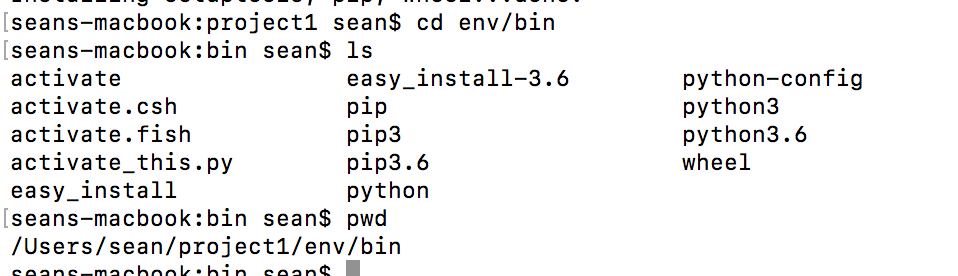
If you type ls or dir (depending on OS), you will see that there is now a folder called env. This folder contains all of the binaries for your new environment. If you look in the env/bin folder, you will see that there are copies of easy_install, pip, python, etc… within this folder.
**Note: If you are including this folder in source control, it would be good to add the env folder to your .gitignore file.
Using Environments
Navigate into your project1 folder, and create a file called test1.py. within test1.py, add the text:
import requests
save your fle, then go bak to your terminal/command prompt, navigate to your project1 folder, and run:
env/bin/python test1.py
This command is using the copy of python in your newly created environment to run your test ptyhon script.
You should get an error similar to the one below:
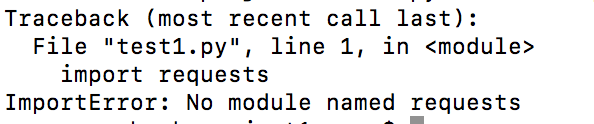
You are seeing this error because in your newly created environment, you don’t have any modules installed. You can install the requests module by typing
env/bin/pip install requests
After installing requests, run your test1 script again:
env/bin/python test1.py
You shouldn’t get any more errors.
To verify everything is working as planned, lets switch to our project2 folder, and create a new script called test2.py, then add import requests to the top.
Next run:
env/bin/python test2.py
you should once again get the import error about the requests module:

The error above demonstrates that what you do in project1 is independent of what you do in project2. Now you can create a new environment every time you have a new project and you won’t have to worry about one projects dependencies stepping on your second projects dependencies.
Activating/Deactivating Environments
Up to this point we have typed env/bin in front of every command. This meant that we could potentially target a different environment with every command. Which gives yu flexibiliy, but most of the time you are going to want to run a bunch of commands within a given environment. If this is the case, typing env/bin in front of every command will get old very quikly.
if you type ls env/bin you will see a list of the files in the bin folder. Notice the activate file. If you look inside this script, you will notice it makes changes to the way your path variable works and re-points all of your python and pip commands to the current virtual environment. This will save you a lot of typing, and prevent you from accidently running a command against the wrong environment.
To run the activate script, type: source env/bin/activate
You will know it worked beause the environment name will be shown at the beginning of the prompt:
(env) seans-macbook:git sean$
When you are done working in that environment, you can get out of it by running the deactivate command. For this one, you just have to type: deactivate
After you run the the deactivate command, you will know it worked because your prompt will go back to normal. Something like this:
seans-macbook:git sean$